Installing MEET MANAGER using the HY-TEK CD
You install MEET MANAGER just as you would any Windows product using Windows Installer. From your Windows desktop, click on Start and then Run and key in the CD drive letter followed by :Setup. For example if your CD is Disk Drive D, enter D:Setup.
NOTE: If you have the Windows AutoRun turned on, Windows will automatically read the CD and begin the installation process and you will not have to type in D:Setup.
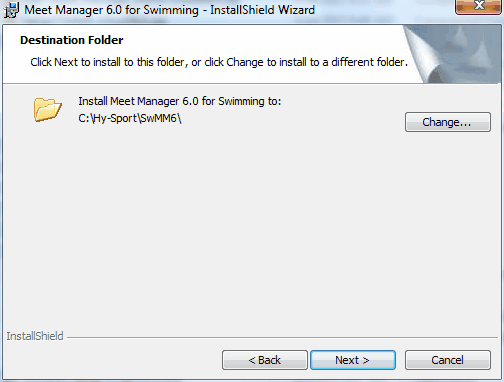
The HY-TEK MEET MANAGER Installation software will guide you through the installation process. When asked for a directory/folder name to use, HY-TEK recommends that you use the default installation folder/directory name of "Hy-Sport\SwMM8".
After the Installation process is complete, you may be asked to restart Windows in order to register some Windows System files. DO NOT remove the CD. Now click OK to restart Windows.
Read the License File From the CD
After Windows has completed its restart, re-insert the CD (if you have removed it) and cancel at the first opportunity if it starts to install again. Click on the MEET MANAGER icon on your Windows desktop. The first thing that MEET MANAGER will do the very first time it is started is to read the License file from the CD. Once this is completed, the Main Menu will be displayed. Open an initial database by clicking File / Open / New, type in a database name and click Open. You may remove the CD and you will not need it again unless you need to re-install for some reason.